The contents on this site are being moved to Highlander Nexus
Installing an AFS Client on MacOSX
From Linux and MacOSX Wiki
Revision as of 20:44, 11 April 2019 by Linuxwiki dept.admin (Talk | contribs)

This documentation will show you how to access the NJIT's AFS file system (/afs/cad.njit.edu/) from your Mac machine (MacOS High Sierra 10.13.4). You will have to do some installations on your Mac to get access to AFS directories. Follow the instructions provided in the rest of the document.
- 1 . Downloading the AuriStor AFS Client
- First, we will be download the AuriStor AFS Client. Use the following URL to download it:
https://www.auristor.com/openafs/client-installer/
- The website will automatically detect the Operating System of the machine and will show you the download button.
- Click on the Yellow button and you will be ask to agree to the terms and conditions
- Now, register for the product by providing your details. AFS Cell Name will be cad.njit.edu
- After the registration, the installer file will be downloaded.
- 2. Installing the AuriStor AFS Client
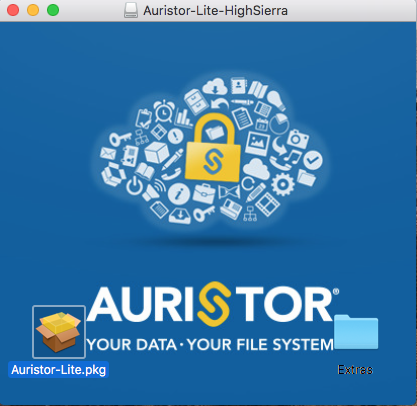
- Double click on the downloaded file. It will open the installer.
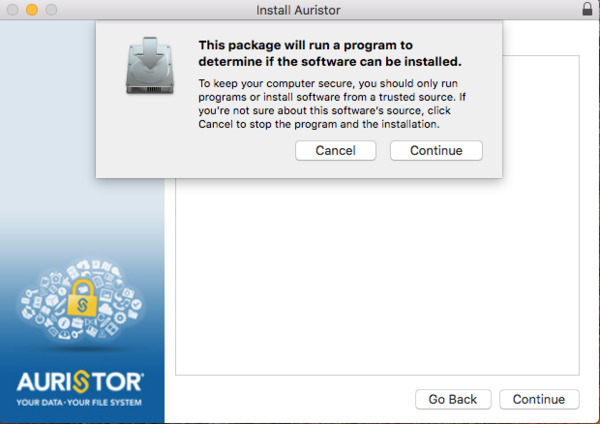
- Click on Auristor-Lite.pkg icon and you will be prompted with the program run warning. Click on Continue, provide the machine credentials to allow the installation.
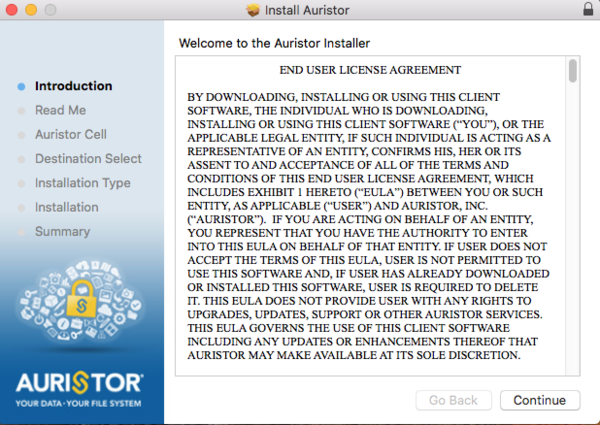
- Now, a license agreement window will appear. Read the entire license agreement and click on Continue.
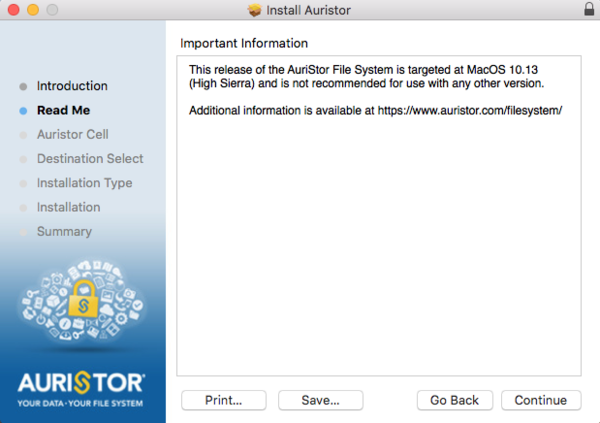
- Next window will have some information regarding the version. Click on Continue.
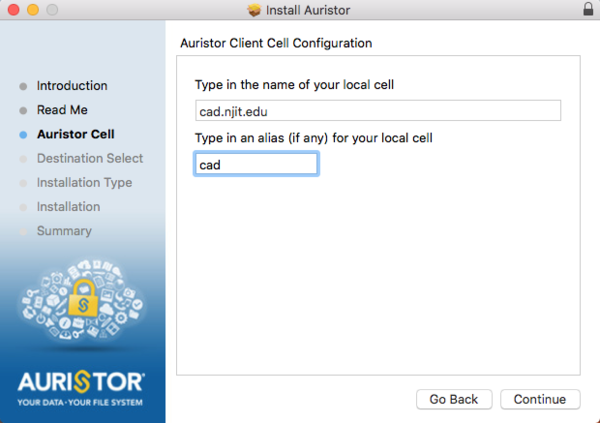
- Now, you have to provide the AFS cell configuration details.
- Provide the following information in the input fields.
- Name of local cell: cad.njit.edu
- Alias for local cell: cad
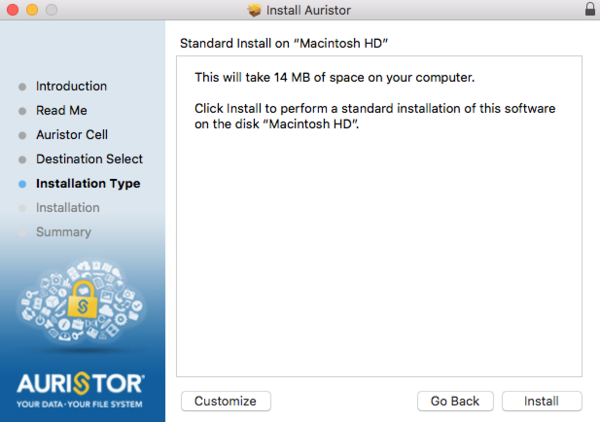
- Standard installarono screen will appear. Click on Install to proceed with the installation.
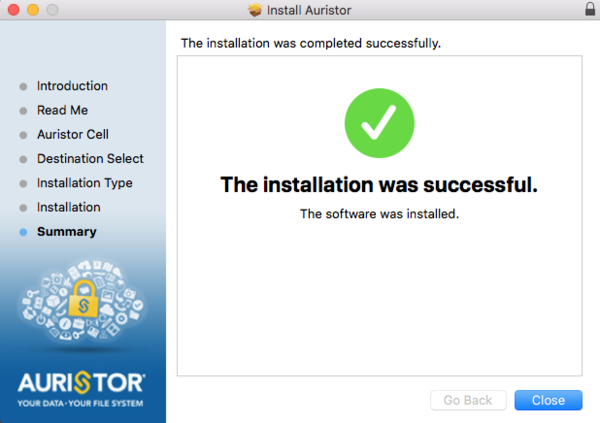
- After the installation is completed, a success screen will appear.
- 3. Changing the AuriStor settings
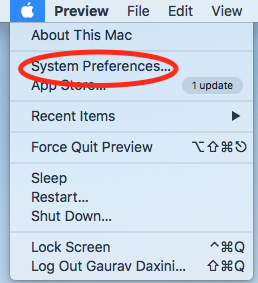
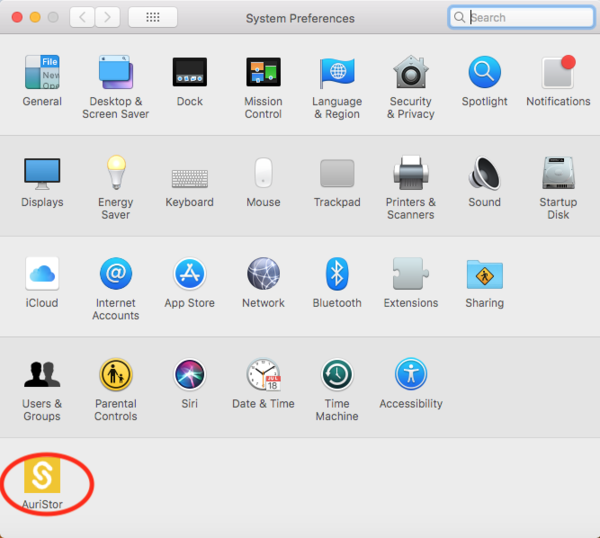
- Go to System Preferences.
- Click on the AuriStor under Others. This will open the settings specific to AuriStor.
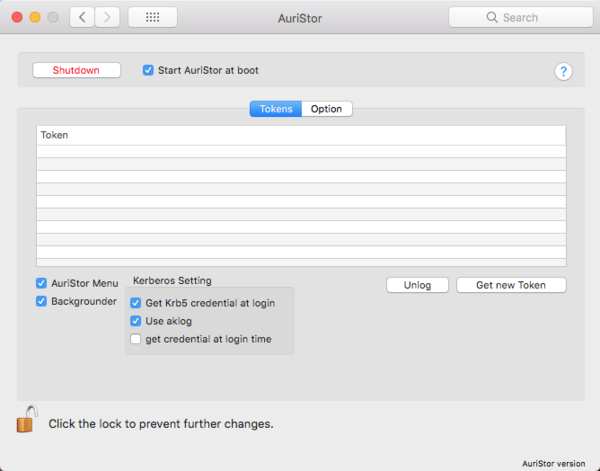
- Now, click on the lock icon at the bottom of the window. This will prompt you for administrative credentials. Provide the credentials to make changes.
- Select the following settings under tokens tab.
- Start AuriStor at boot
- AuriStor Menu
- Backgrounder
- Get Krb5 credentials at login
- Use aklog
- 4. Adding /etc/krb5.conf file
- Open the Terminal application and run following command
sudo vi /etc/krb5.conf
If there is any other content in that file then remove it. Add the following in that file.
# NJIT - ARCS Kerberos Configuration  - 20140404
[logging]
       default = FILE:/var/log/krb5libs.log
       kdc = FILE:/var/log/krb5kdc.log
       admin_server = FILE:/var/log/kadmind.log
[libdefaults]
       default_realm = NJIT.EDU
       dns_lookup_realm = false
       dns_lookup_kdc = false
       ticket_lifetime = 24h
       renew_lifetime = 30d
       forwardable = true
       allow_weak_crypto = TRUE
       allow_weak_enctypes = TRUE
[realms]
       NJIT.EDU = {
               kdc = kay00.njit.edu:88
               kdc = kay01.njit.edu:88
               kdc = kay02.njit.edu:88
               admin_server = kay00.njit.edu:749
               default_domain = njit.edu
       }
[domain_realm]
       .njit.edu = NJIT.EDU
       njit.edu = NJIT.EDU
[appdefaults]
       pam = {
               debug = false
               ticket_lifetime = 24h
               renew_lifetime = 30d
               forwardable = true
               krb4_convert = false
               pam-afs-session = {
                       ignore_root=true
                       debug=true
               }
       }
       libkafs = {
               NJIT.EDU = {
                       afs-use-524 = no
               }
       }
- 5. Updating /etc/yfs/cellservdb.conf
- Open the Terminal application and run the following command.
sudo vi /etc/yfs/cellservdb.conf
Delete the existing content of the file and add following.
[realms]
 NJIT.EDU = {
  kdc = kay00.njit.edy
  kdc = kay01.njit.edu
  kdc = kay02.njit.edu
  admin_server = kay00.njit.edu
 }
- 6. Starting the AuriStor AFS Client and accessing the AFS directories
- Reboot the machine. The OpenAFS client should auto start upon reboot.
- Using the following command, check if afs/ is mounted or not to verify if AFS client auto started or not on boot up.
ls -l /
- Get the Kerberos ticket using kinit, and your AFS token using aklog
kinit <Your NJIT UCID> && aklog
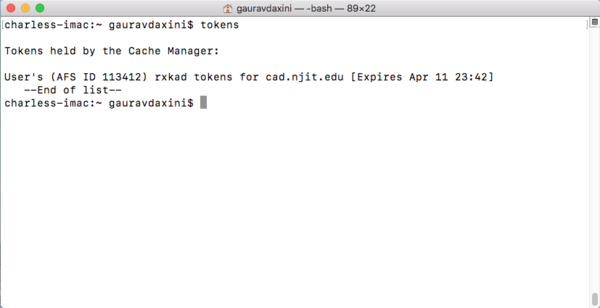
- Use the following command to check if AFS token is generated or not.
tokens
Note: Token will expire in 24 hours. You can renew it by using the command mentioned in previous step.
- You should now be able to access your AFS home directory.
cd /afs/cad/u/<first_letter_of_ucid>/<second_letter_of_ucid>/<your_ucid>/
Example: If your NJIT UCID is abc123 then
cd /afs/cad/u/a/b/abc123/


